A few years ago, and a few months after I started this blog I also started to use Google Analytics. There was a lot to learn, but I enjoyed seeing that my baking and blogging efforts were actually being viewed by people all around the world. It was really neat to see the number of people visiting my blog each day, as well as where they came from. My inner geek was starting to emerge!
I'll always remember when I first began to notice that people were visiting my blog after being directed to it from another blog. Not only were people reading my blog, but they liked it enough to actually link to it! One of the very first people to link to my blog was Ruth Clemens who writes the baking blog The Pink Whisk. I started following Ruth's blog after that, and it wasn't long after that I realised that not only did Ruth write her blog The Pink Whisk, but she also appeared on my TV screen each week in the very first season of The Great British Bake Off.

Over the next few weeks I was captivated by Ruth's creations on the Great British Bake Off, so it came as no surprise when she was crowned runner up in the very first season. Ruth's bakes were so different from all the other contestants, they were polished and extremely creative. Ruth's creativeness and her passion for baking, combined with her charming personality have allowed her to publish a string of successful baking books, the most recent titled Creative Eclairs focuses exclusively on Eclairs, and choux pastry creations.


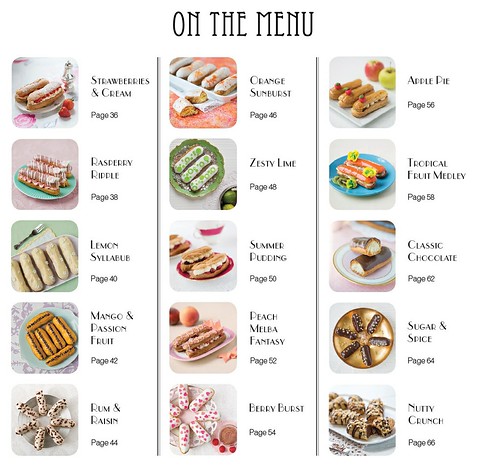
I'll always have a soft spot for Ruth, so I was thrilled when I received a preview copy of Creative Eclairs to review. The book is wonderfully written, and includes loads of clear and detailed step by step photographs - something I don't think enough recipe books include. The real highlight of the book are the recipes themselves. There are so many unique flavour combinations to choose from, you'll be able to make a new one each week for at least 6 months! Just have a look at the recipe index pages below.

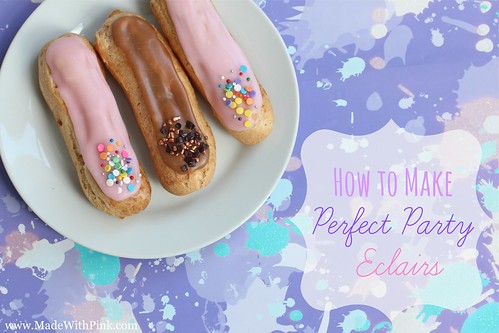
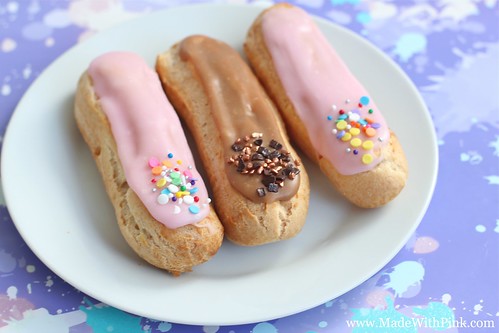
I couldn't wait to try my hand at making eclairs. With so many different flavours to choose from it was too hard to choose just, so I opted for two instead - original vanilla creme patisserie and the mocha creme patisserie. Both fillings were so easy to make, and tasted absolutely delicious. I had to restrain myself to make sure I din't eat the whole lot with a spoon!
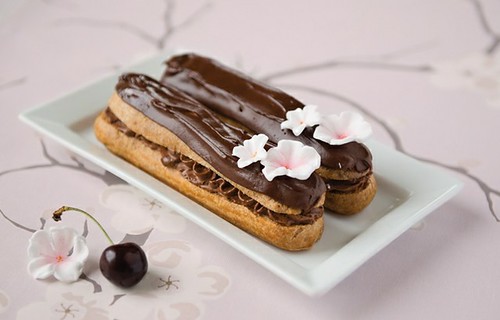
I will admit that I didn't have instant success with the choux pastry recipe though. Ruth's recipe calls for 4 eggs to be used in the choux pastry, but I found that my choux dough was far too runny once the 4th egg was added, even with chilling. This resulted in flat eclairs that deflated once out of the oven. Luckily I had the step by step photos from the book to refer to. It was clear that piped dough in the photos was much thicker and stiffer than mine, so I tried again using only 3 eggs. This resulted in a choux dough that was much closer in consistency to the dough pictured in the book. I ran into a similar problem the first time I tried to make choux pastry last year to use in my Religiuese. I combined the instructions in Creative Eclairs together with my previous choux learnings, and I was thrilled with the way my eclairs turned out. They were absolutely delicious, and I can't wait to try a new flavour combination.

Recipe by Ruth Clemens from the book Creative Eclairs
Adaptations are shown in pink.
Vanilla Crème Patissière
Ingredients
600ml (20fl oz) Whole Milk
Seeds scraped from 1 Vanilla Pod, 5ml (1 tsp) vanilla bean paste or 5ml (1 tsp) vanilla extract
100g (31⁄2oz) caster (superfine) sugar
4 large egg yolks
50g (13/4oz) cornflour (cornstarch)
Directions:
1. In a large jug whisk together the egg yolks and caster (superfine) sugar until the mixture is light and foamy. Add the cornflour and whisk again until of an even consistency. Set to one side.
2. Place the milk and vanilla in a medium pan and heat gently until just below boiling point. Whilst whisking the egg mixture continuously, add the warmed vanilla- infused milk a little at a time until both mixtures have been fully worked together.
3. Transfer the mixture back to the pan and over a medium heat, whisking continuously, bring to the boil. Continue to cook the crème patissière for 2 minutes until thick and glossy.
4. Remove the pan from the heat and transfer the mixture to a bowl. Contact-cover the top of the crème patissière with cling film (plastic wrap) to prevent a skin from forming, and allow to cool. Refrigerate once cooled.
5. When you are ready to use it, transfer the chilled crème patissière to a large bowl and beat with an electric hand mixer until it is a smooth and even consistency.
Basic Choux Pastry
Ingredients:
75ml (2 1⁄2fl oz) Water
55ml (2fl oz) Whole Milk
55g (2oz) Butter
5ml (1 tsp) Vegetable or Sunflower Oil
1⁄4 tsp Salt
1 tsp Sugar
100g (3 1⁄2oz) Plain (All-Purpose) Flour
4 Large Eggs *I used 3
Sunflower or vegetable oil spray
Directions:
1. Place the water, milk, butter, oil, salt and sugar in a medium pan. Heat over a medium heat stirring frequently until the butter has melted. Bring to the boil and add the flour. With the pan still on the heat, beat the mixture with a wooden spoon until it comes together into a ball.
2. Turn the heat down to low and continue to mix over the heat for 3 minutes.This helps to reduce any excess moisture and changes the paste from a rough shaggy texture to a much smoother, glossy paste. Remove from the heat and allow to stand for 2 minutes to cool slightly.
3. Add the eggs one at a time, beating the choux well after each addition until all the eggs have been incorporated. Continue to mix until the consistency returns to a smooth, glossy texture before adding the next egg.
When all the eggs have been incorporated, the choux pastry will be glossy with a thick, medium-firm texture. Transfer to a bowl and cover with cling film (plastic wrap). Allow to cool fully then refrigerate for at least 1 hour. This makes the choux pastry much easier to pipe neatly.
4. Once chilled, transfer the choux pastry to a piping (pastry) bag fitted with an 18mm (3⁄4in) piping nozzle (tip). A serrated pen (French style) nozzle (tip) is ideal for éclairs as it creates ridges in the piped éclairs which allow the dough to expand evenly on baking, avoiding any cracking across the top. *I couldn't find my serrated nozzle (only the Wilton 1M tip which is too deep) so instead I ran a fork lightly down the piped eclairs. This worked great.
5. Preheat the oven to 160°C (fan) /180°C /350°F/ Gas Mark 4. Pipe the choux pastry into éclairs or choux buns of the desired size using an even pressure to keep the width of each éclair the same. Any peaks or misshapen ends can be smoothed with a dampened finger once piped.
6. Spray the éclairs lightly with a vegetable or sunflower oil. This light coating prevents the crust from forming on the éclairs too early in the baking process, allows the choux pastry to expand evenly, and helps prevent the top of the finished éclair from cracking. Bake for 40 - 50 minutes until golden brown. Transfer to a wire rack and allow to cool completely.
To Assemble the Eclairs:
1. Pierce the base of the éclair once at each end using a small piping nozzle (tip) (for larger 15cm/6in éclairs, also pierce a hole in the middle of the base).
2. Add the filling to a piping (pastry) bag fitted with a filling tip – these are also known as Bismarck tips or cupcake filler nozzles (tips), such as Wilton 230.
3. Insert the filler nozzle (tip) into the pierced hole at one end and squeeze in the filling gently. Remove the tip and place it into the hole at the opposite end and fill again, just until you see a little movement of the filling at the hole in the opposite end.
4. Clean off any excess filling from the base of the éclair with your fingertip or by swiping it across the lip of a small jug.
5. Place the warmed liquid fondant (recipe below) in a shallow open bowl – big enough to fit the length of the éclair easily. Dip the top of the éclair into the mixture. Then with one end leading and the rest following, moving in an arc to remove it from the bowl and allow the excess to drain from one end.
If you're adding any sprinkles on top like I did, make sure to sprinkle them on immediately after dipping your eclair into the fondant before. If you wait too long, the glaze will set and the sprinkles won't stick. Place each éclair onto a wire rack, glazed-side up to set.
Fondant Glaze
Ingredients:
300g (10 1⁄2oz) White Sugarpaste (Fondant / ready-to-roll icing)
30ml (2 tbsp) water
*I added a tiny amount of pink colouring, and 2 squares of white chocolate which made the fondant glaze more opaque.
1. Break the fondant into small pieces and place in heatproof bowl with the water. *I added my colouring and white chocolate in this step.
2. Heat gently in the microwave in short bursts, or over a pan of steaming water, stirring frequently, until the fondant melts.
3. Mix with an electric mixer until the consistency is smooth and even and no lumps remain.The glaze will begin to set while it cools, so use while it is still warm. It can easily be reheated to pouring consistency if it cools too quickly for use.

To celebrate the launch of Creative Eclairs a special blog hop is currently taking place. Why not check out some of the other blogs participating to see what they made? A full list of the blogs taking place can be found here.
Creative Eclairs is available for early purchase now through the Stitch Craft Create website now for £13.84, and will be available through Amazon UK here when it's officially released the 25th of April.
If you're in the USA, Creative Eclairs is available now for $12.63 though Amazon.com here
Comments
Post a Comment